How to create a Project
To create a project in Wringr, follow these steps:
Navigate to the Projects Section:
- On the Wringr dashboard, click on the "Projects" tab located on the left-hand side of the screen. This will take you to the Projects page where you can manage all your current projects.
Add a New Project:
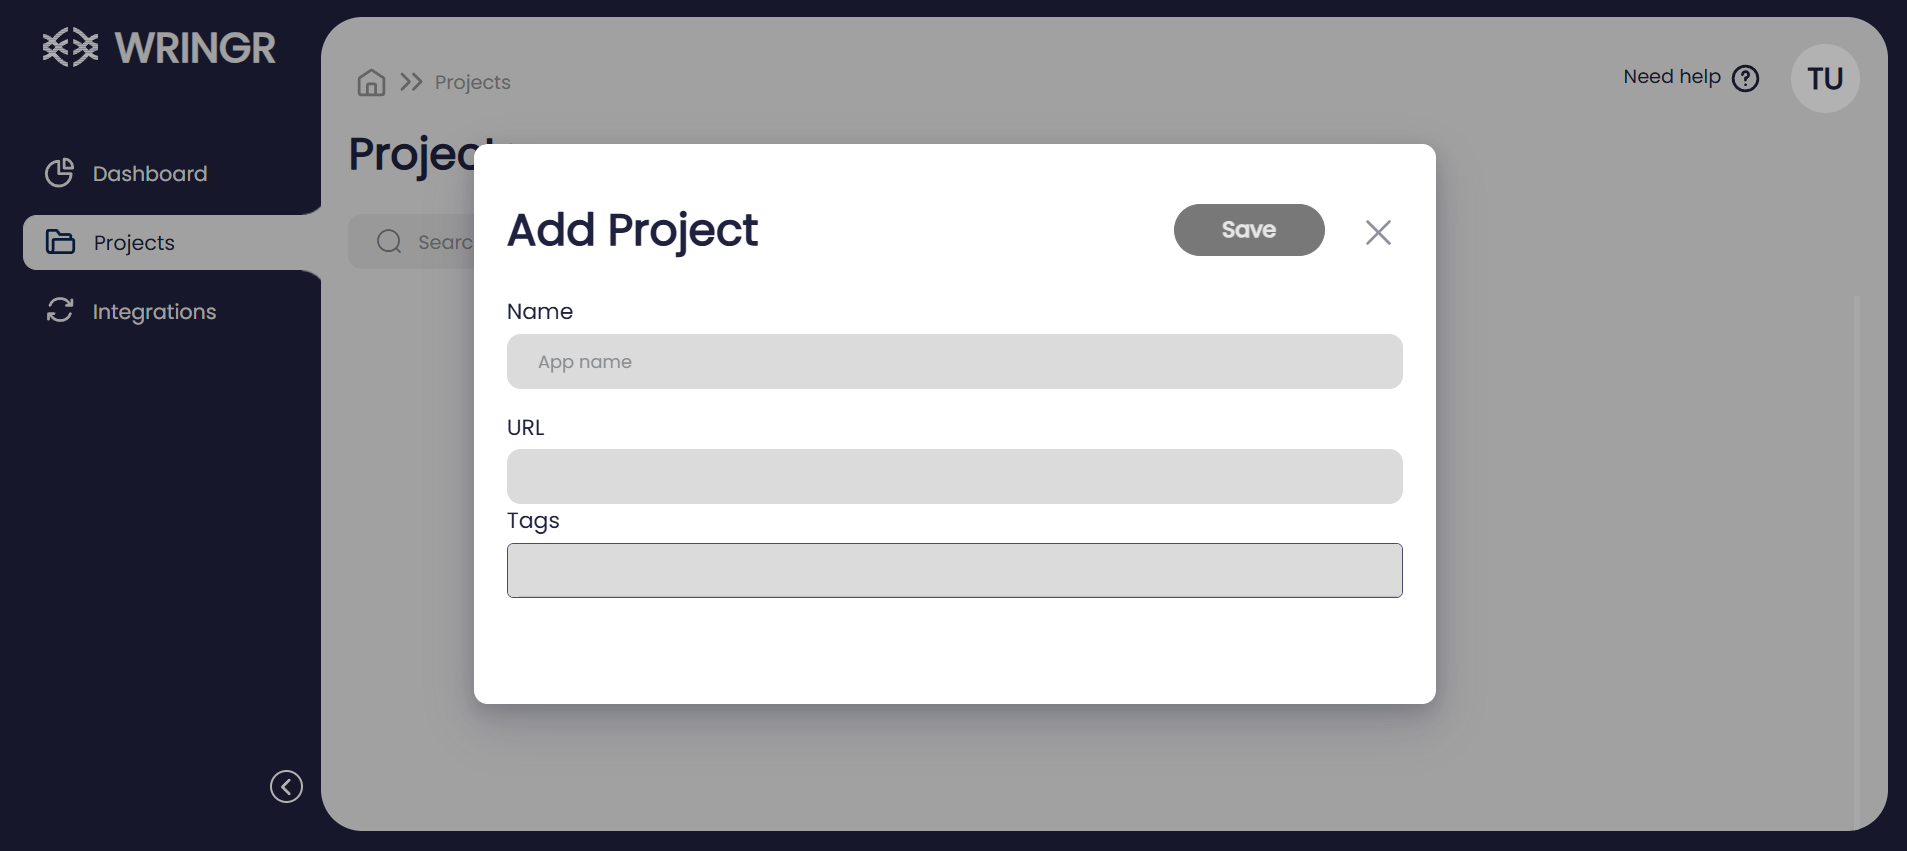
- On the Projects page, click on the "+ Add" button at the top right corner of the project list. This will open a pop-up window titled "Add Project."
Enter Project Details:
- Name: In the "Name" field, enter the name of your project. This is how your project will be identified within Wringr.
- URL: In the "URL" field, input the URL of the website or application you want to track and test. This is essential for Wringr to collect data and generate tests based on user interactions.
- Tags: In the "Tags" field, you can add tags to help categorize and organize your project. Tags can be useful for filtering and searching for specific projects later on.
- Save the Project:
- Once all the necessary information has been entered, click on the "Save" button at the top right of the pop-up window. This will create your new project and add it to the list of existing projects in Wringr.
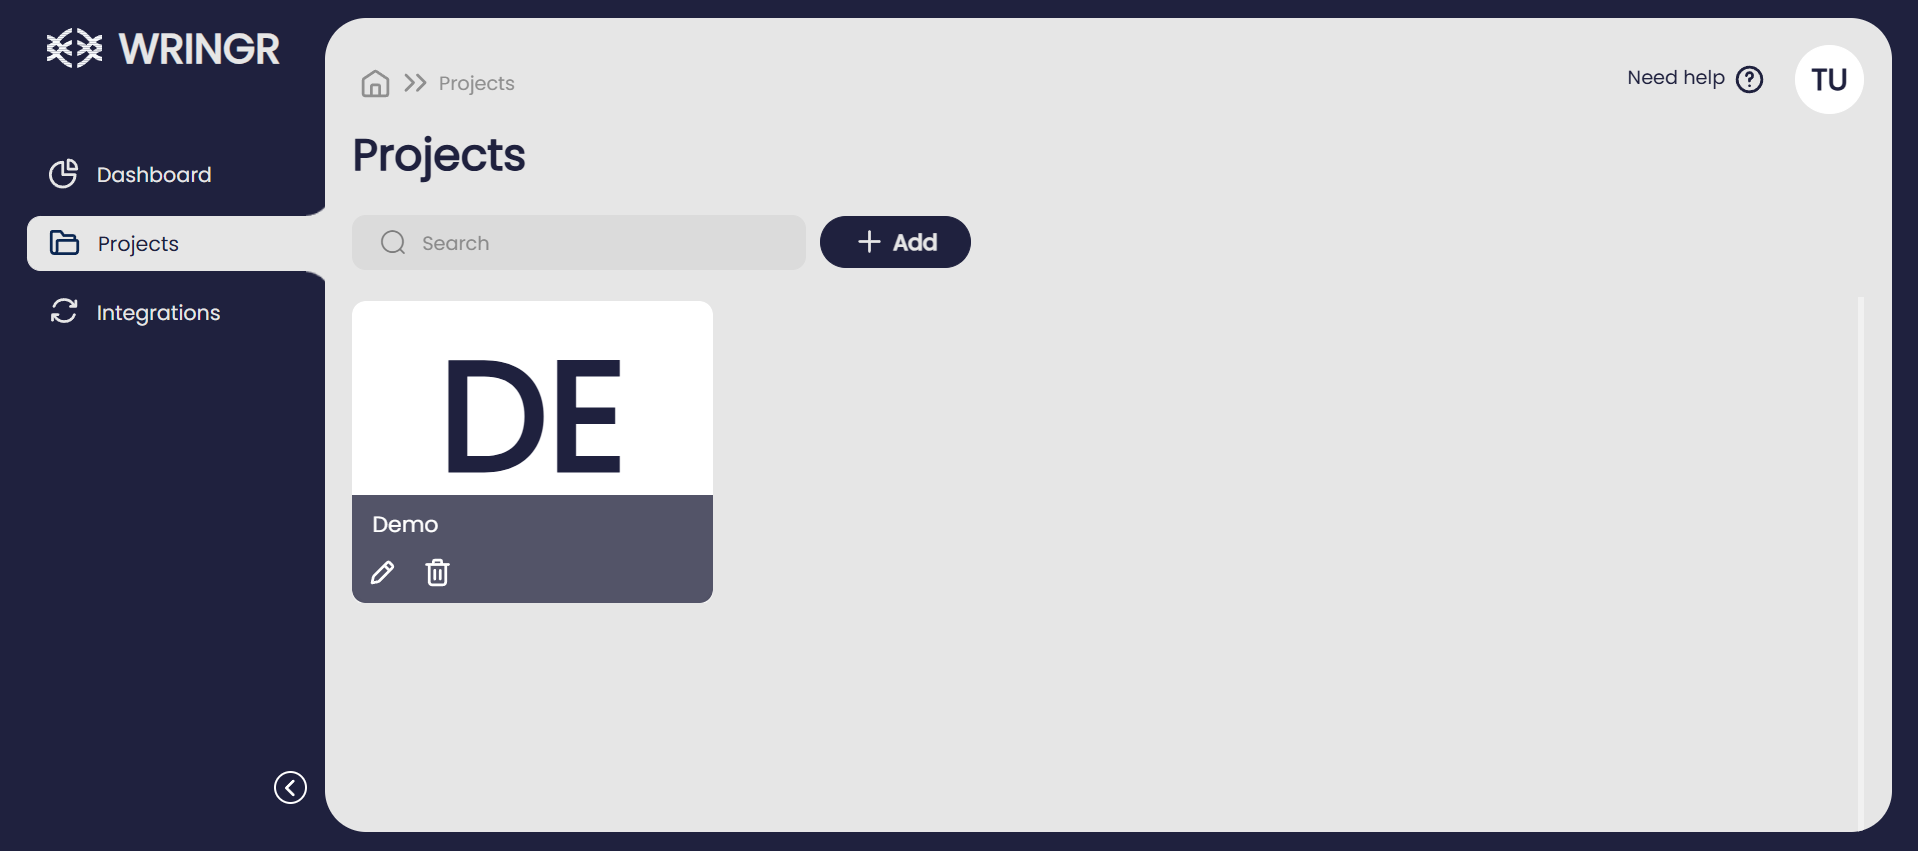
Wringr makes it simple to create and manage projects for your testing needs. Once you've successfully created a project, the interface will display it within the "Projects" section, as shown in the screenshot. Here, each project is represented by a tile with a unique identifier, making it easy to organize and access different testing environments.
You can click on a project to delve deeper into its details, manage sessions, or view test results. The interface is intuitive, allowing you to easily add new projects, edit existing ones, or delete projects that are no longer needed. This setup provides a clear overview of all your active projects, ensuring a streamlined workflow for managing and executing tests.
Example:
Now, your project is set up and ready to start tracking user interactions and generating valuable insights to improve your website or application!